
Before You Hit Record: Five Audio Checks That Save You Time in Post-Production

Most audio problems we fix in post-production were born long before anyone opened their editing software. A noisy room, a microphone placed too far away, levels that were never checked. The good news: almost all of these issues can be avoided in the two minutes before you press record. Here are the five checks we recommend to every client, whether you are recording a podcast, an interview, a voice-over, or dialogue on set.
A Pattern We See Almost Every Week
A client sends us a recording. The content is great. The performance is great. The idea behind it is great.
But the audio makes it hard to enjoy any of it.
And in most cases, the problem is not the microphone, the budget, or the talent. The problem is that nobody ran a quick check before the recording started. And yet, that is understandable. When you are about to record, your head is full of other things. The questions you want to ask, the script you want to deliver, the guest who is already waiting. Audio is usually the last thing on your mind.
But here is the uncomfortable truth from the post-production side: the quality of your recording is largely decided before you press record. Everything that happens afterwards, including our work, builds on that foundation.
So before your next recording, take two minutes and go through these five checks.
1. Check Your Microphone Placement
Distance is the single most underrated factor in voice recordings.
If the microphone is too far away, it does not just capture your voice. It captures the room, the reflections, the air conditioning, and everything else around you. The result is a distant, roomy sound that is difficult to repair convincingly, because the room is baked into every word.
Our rule of thumb: keep the microphone close to the mouth. If you are speaking directly into a microphone, aim for a distance of around 5 inches. If you are working with a lavalier microphone clipped to the chest, 7 to 10 inches from the mouth is a good target.
By the way: closer is not automatically better.
If you press your lips against the microphone, you invite plosives and an unnaturally boomy tone. But between "too close" and "too far", too far is by far the more common and more damaging mistake.
2. Check Your Environment
A great voice in a bad room will always sound like a bad room.
Before you record, close doors and windows. Then take a moment and simply listen.
Do you hear traffic? A refrigerator? A fan?
Your ears adapt to constant sounds within minutes, which is exactly why so many recordings arrive at our studio with a noise floor the creator never noticed.
The second factor is reflections. Hard, empty rooms create echo and room sound, and heavy reverb is one of the hardest problems to remove naturally in post-production. You do not need acoustic panels to improve this. Curtains, carpets, furniture, even a well-placed sofa reduce reflections noticeably. If you have the choice between a beautiful empty room and a slightly messy room full of soft materials, choose the messy one. Your recording will thank you.
3. Check Your Levels
This check takes ten seconds and prevents one of the few problems that can hardly be undone: clipping.
When your input level is too high, the loudest moments of your voice get cut off and distorted. Unlike noise or echo, this distortion destroys information. It can sometimes be reduced, but the original clean signal is gone.
So make sure the input level is visible on your recording device, do a short test at your normal speaking volume, and watch the meter. It should never hit red. A touch of orange during louder moments is acceptable, but if you consistently stay within the green area, you are in a safe and comfortable spot.
If you are unsure, record slightly quieter rather than slightly louder. A quiet, clean recording can be raised in post without any drama. A clipped recording cannot be un-clipped.

4. Monitor While You Record
If headphones are available, use them. Not after the recording. During it.
Monitoring lets you catch problems while you can still fix them. A hum, a buzz, a crackling cable. These issues are often invisible on the meter but immediately audible in your headphones.
A classic example:
You hear a low hum or buzzing in the signal. In many cases, this is caused by power cables running close to the microphone cable. Simply moving the cables apart can solve the problem on the spot. Without monitoring, you would discover this hum hours later, spread across your entire recording.
Ten seconds of listening before the take can save you from re-recording the whole session.

5. Know What You Can and Cannot Control
Sometimes you cannot choose your environment. The interview happens in a busy office, the shoot takes place next to a road, the AC cannot be switched off.
In these situations, the goal shifts. You are no longer trying to capture perfect audio. You are trying to capture usable audio.
And here is the one thing that matters most: the voice needs to remain clearly understandable. As long as the dialogue is intelligible, background noise, room sound, and many other issues can be treated and restored in post-production. We do this every day. But if the voice itself drowns in the surroundings, even the best tools and the best-trained ears reach their limits.
So if the conditions are against you, get the microphone as close as possible, monitor what you are capturing, and protect the intelligibility of the voice. Everything else can be dealt with later.
Two Minutes Now, Hours Saved Later
None of these checks require expensive gear or technical expertise. They require two minutes of attention before you press record.
And those two minutes pay off twice. Your recordings will need less correction in post-production, and the corrections that remain will sound more natural, because they build on a healthier foundation.
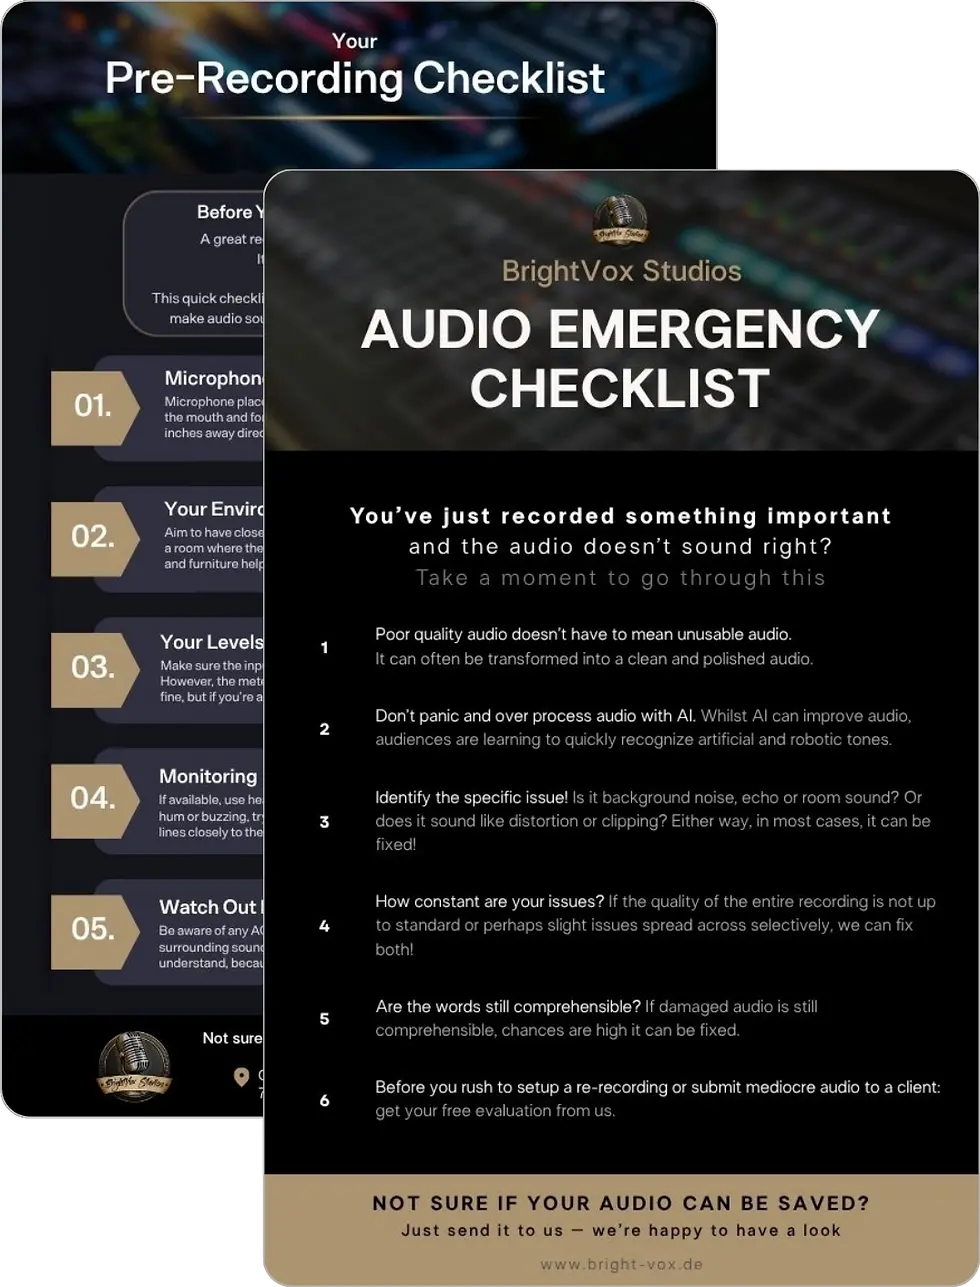
To make this easier, we have turned these five checks into a compact, printable Pre-Recording Checklist. Keep it next to your setup, run through it before every session, and you will avoid the most common issues that make audio sound unprofessional.
And if a recording has already gone wrong despite your best preparation, do not delete it just yet. Poor quality audio does not have to mean unusable audio. Send it to us for a free evaluation, and we will tell you honestly whether it can be saved.

Comments